By Luminesca · Updated 2026-09-08 Analysis compiled from public reporting with AI-assisted drafting. See our editorial policy.
📅 Aug 3, 2026🏷️ AI / Tutorial🖥️ Unlimited image generation, fully offline
🖥️
Running Stable Diffusion locally in 2026 is easier than ever: free installers, one-click model downloads and real GPU acceleration on most gaming hardware. In about an hour you can have unlimited image generation with complete privacy - no quotas, no watermarks, and nothing sent to a server. This guide walks through the whole setup.
Hardware reality. Stable Diffusion runs on consumer GPUs with 6–8 GB of VRAM comfortably; 12 GB or more lets you run larger models and higher resolutions. Apple Silicon Macs work well too, using unified memory. No GPU at all is still possible - CPU-only generation works, just slowly, especially for SDXL-class models.
Step 1 - install the launcher. The easiest path in 2026 is a one-click installer that bundles the environment, the web UI and model management. Download it, run the setup, and let it pull the default model. For Linux or a more manual setup, the classic approach with a virtual environment and the official repository still works and gives you maximum control.
Step 2 - choose a model. The base Stable Diffusion releases remain the standard starting point. From there you can add specialised checkpoints - realistic, anime, illustration or architecture styles - each a few GB download. The model card tells you its license and intended use; some community models have restrictive terms, so check before commercial work.
Step 3 - optimise for your hardware. Modern launchers handle most of this automatically: memory optimisation, upscaling, and the choice of precision. If generation is slow, the two levers are resolution and the number of sampling steps - lower both for speed, then use an upscaler if needed.
Step 4 - verify your downloads. Model files are large and sometimes mirrored by third parties. Compare the SHA-256 checksum against the publisher’s published value before trusting a download - a quick gives you the checksum in one click. It is a small habit that prevents corrupted or tampered weights.
Once running, the workflow is simple: describe the image, generate, refine. Master image-to-image first - it gives you control that text-to-image alone cannot. And because everything runs locally, you can generate freely: sketches, drafts, reference boards, client concepts - no quota, no watermark, no privacy concern.
The payoff is bigger than the setup suggests. Local generation turns AI image tools from a rationed cloud service into an always-available creative studio - the same shift that. Start with the default model, learn the workflow, then explore the ecosystem.
Visual Highlights
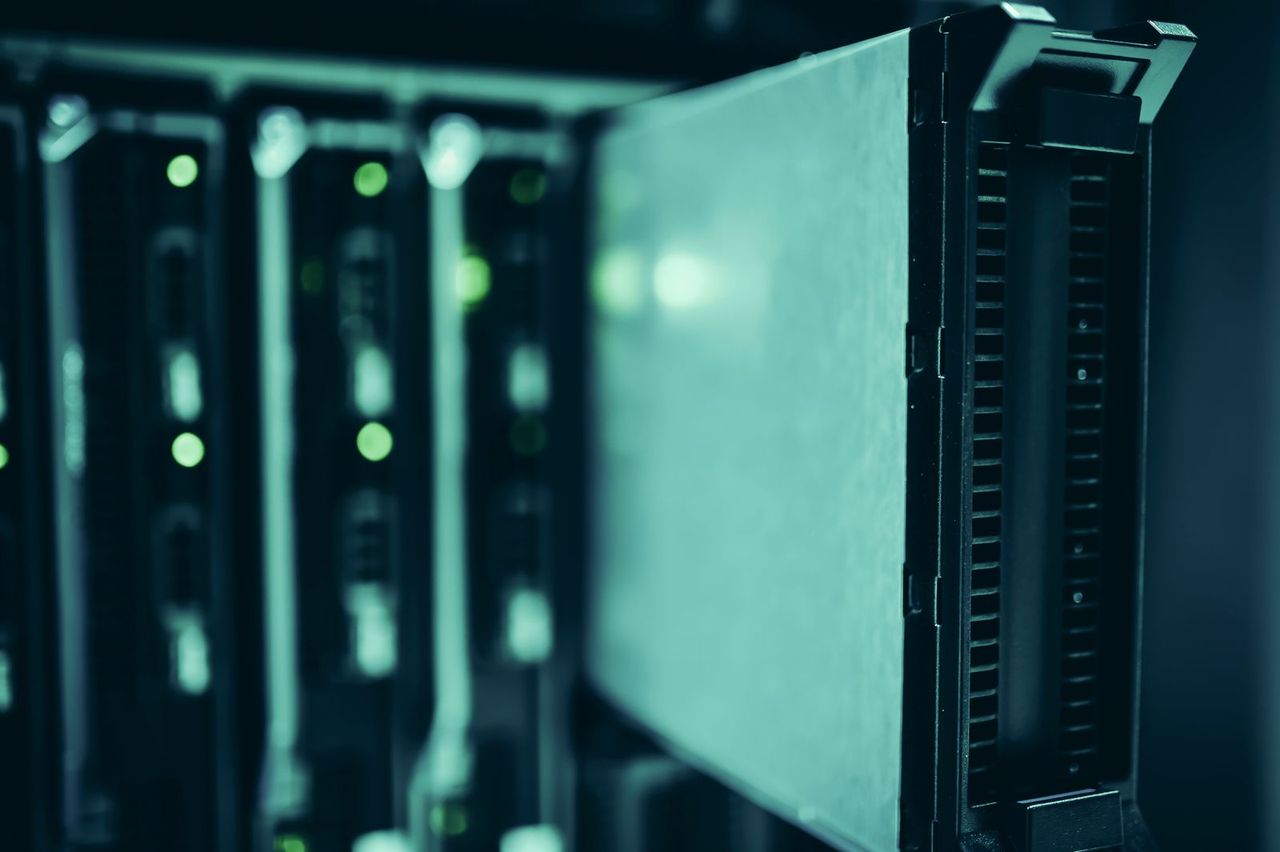
Local hardware doing the work - a capable GPU turns your PC into an image-generation studio.
VRAM is the ceiling that decides your options.
Know your three tiers before downloading anything. With 6-8 GB of VRAM you can run current 1.5-class and distilled SDXL models at moderate resolutions. With 12-16 GB, SDXL-class models run at full quality and larger LoRAs become practical. Above 24 GB, everything runs at full resolution with room for control tools alongside. The most common failure is not the install - it is generating at a resolution your card cannot hold, which either crashes or crawls. Find your tier first, then read guides written for it, because advice for a 24-GB card is actively wrong for an 8-GB one.
Count the whole pipeline, not just the base model. The base model shares memory with whatever you stack on it: LoRAs, control networks, upscalers. A setup that runs the base model fine can still choke when the upscale pass loads. Test your full workflow - generate, refine, upscale - before declaring victory, and if it barely fits, generate at a lower resolution and upscale rather than pushing generation resolution to the limit.
Upscaling beats generating at max resolution.
The two-step workflow is the professional default. Generate at your card’s comfortable resolution, then run a dedicated upscaler - the results are sharper and faster than forcing the base model to render large directly. Upscaling also adds a second creative checkpoint: you can upscale only the frames worth keeping, spending expensive GPU time on selects rather than on every attempt. This habit alone doubles effective throughput on modest hardware.
Keep model hygiene from day one. Models accumulate fast: base checkpoints, LoRAs, upscalers, and the download cache behind them. Keep a models folder organised by type, note where your launcher expects each kind, and delete what you do not use - a cluttered models directory is the most common cause of "the model that worked yesterday is missing today". Download only from official hubs or the launcher’s built-in browser, verify file sizes after download, and pin the model versions you use for any project you might revisit.
Frequently Asked Questions
What are the minimum specs for Stable Diffusion?
A GPU with 6 GB of VRAM is the comfortable minimum for standard models; 12 GB+ allows larger models and higher resolutions. Apple Silicon with 16 GB unified memory also works well. Without a GPU, CPU-only generation is possible but slow.
Is local Stable Diffusion really free?
Yes - the software and models are open source, and generation runs on your own hardware with no per-image cost and no quotas. You only pay for electricity and, if needed, hardware. This makes local generation dramatically cheaper than cloud at volume.
Do I need an expensive GPU in 2026?
No - you need the right tier for the models you want. An 8-GB card runs 1.5-class and distilled models well; 12-16 GB unlocks SDXL-class comfortably. Anything above 24 GB is for heavy pipelines, not a requirement. Start with your current card, learn the workflow, and upgrade only when you hit a wall you understand.
Where do I get models safely?
Use your launcher's built-in model browser or official hubs (Hugging Face, Civitai with review). Check file size matches the listing, avoid re-uploads of popular models from unknown accounts, and pin version numbers for projects you may revisit. Most "broken model" reports trace to truncated or tampered downloads.